Measure every step individually
older stairs are rarely square.
Installation guidance
Preparation, dry-fitting, adhesive notes and finishing details for stair nosing, wall-to-wall treads, returns and floating treads.
An overlap nosing sits on a sound existing tread and the flooring runs to its back edge. It is commonly used for LVP retrofit work when fitting LVP on stairs.
The applicable stair-nose profile is confirmed during project review.
Send the flooring identification, tread depth and thickness for review before choosing a profile.
Check every part against your stair measurements and dry-fit before any adhesive is applied.
Acclimate the parts in the install space for 48 hours before cutting.
older stairs are rarely square.
Use a high-grab construction adhesive, with pins where the profile allows.
Installing stair nosing on a standard enclosed step.
Finishing an open-ended staircase where the tread end is exposed.
Fitting overlap nosing over an existing tread.
Joining two nosing pieces on a wide step.
Installing a vented profile.
Tread Space supplies stair parts and this install guidance. Installation labour is handled by your own flooring contractor or installer.
Stair parts are made by hand in Columbia Falls, Montana and shipped to customers across the United States. Freight cost and timing are confirmed in your written quote for each project.
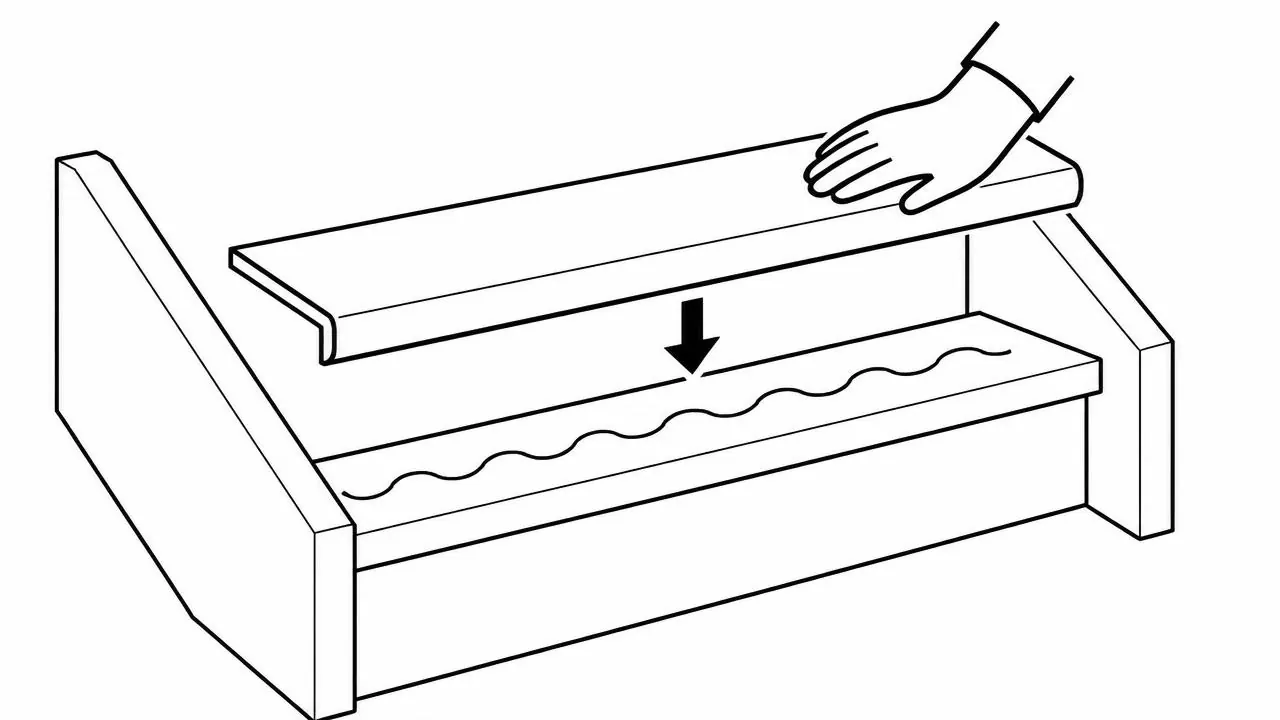
Guide 01
The baseline procedure for every staircase.
You'll need
Miter saw · Tape measure · Construction adhesive · Painter's tape
Pro tip — If a step is bowed, weight the middle during cure — don't fight it with more nails.
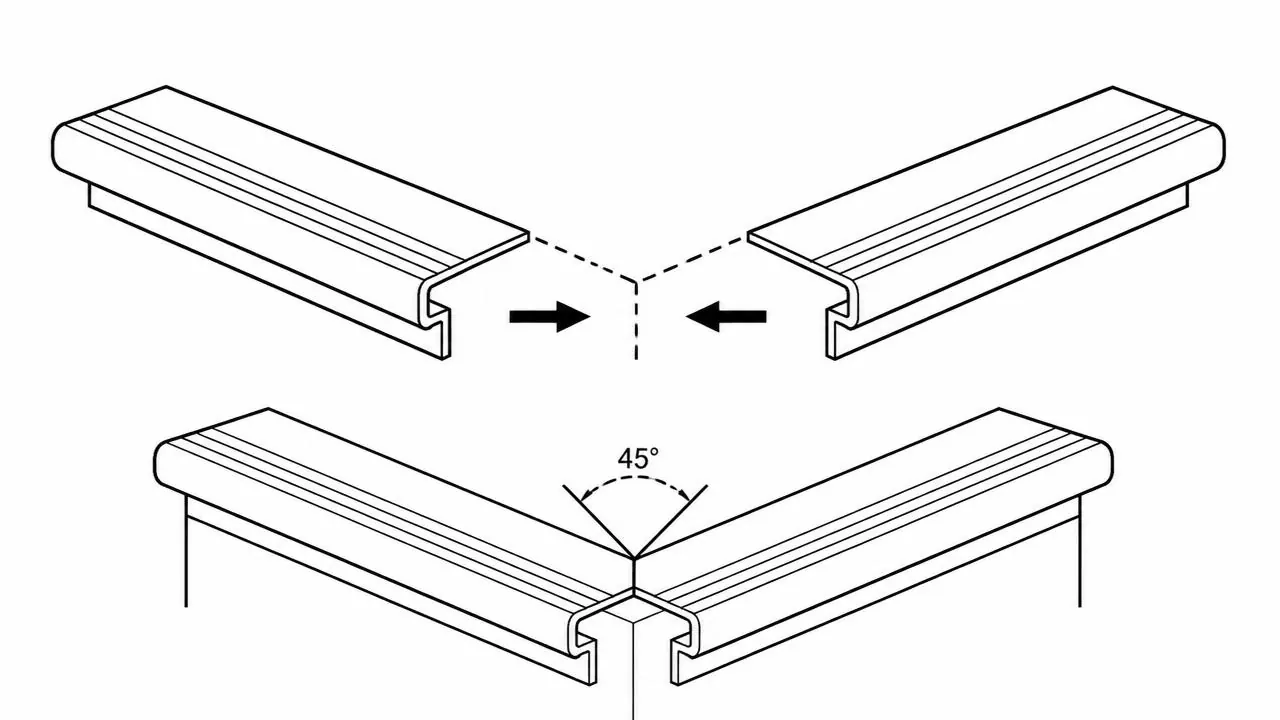
Guide 02
Waterfall stairs need a clean mitered return on the exposed side.
You'll need
Miter saw · Wood glue + construction adhesive · Blue tape or rubber bands
Pro tip — Hairline gap in the miter? Rub fine sanding dust into the seam while the glue is wet.
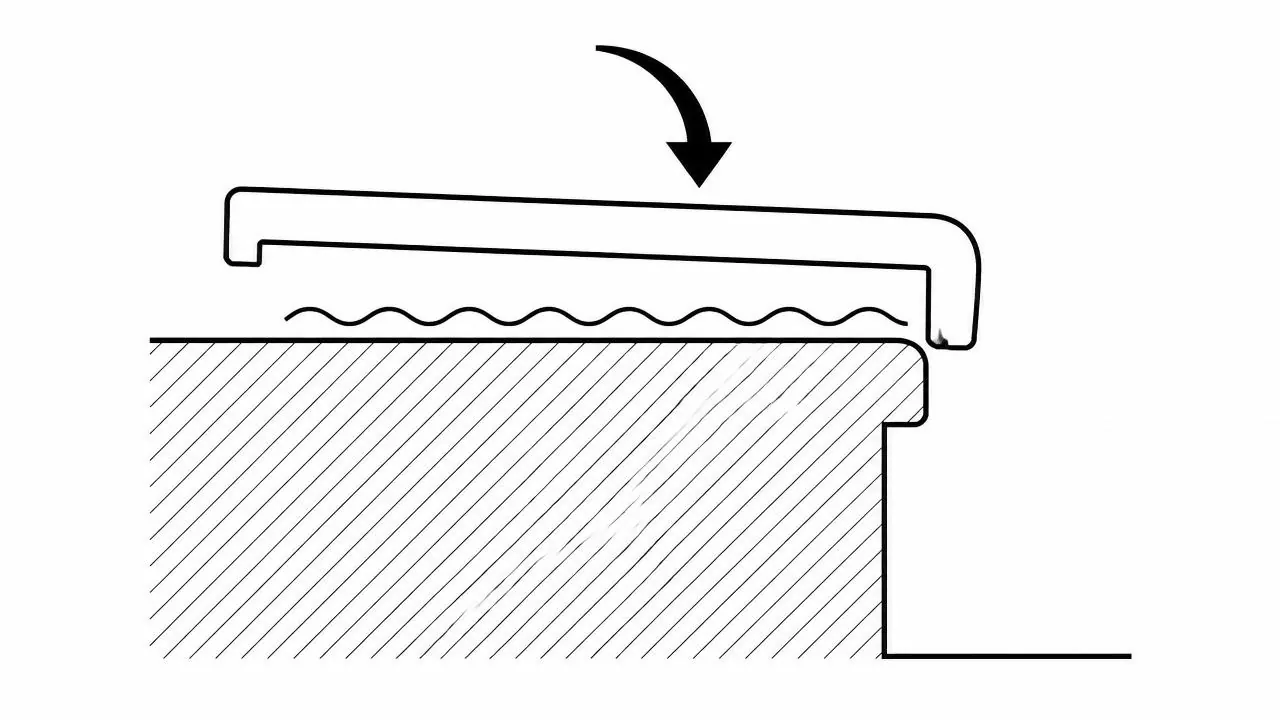
Guide 03
Rides on top of an existing tread — perfect for LVP retrofits.
You'll need
Track saw or jamb saw · Construction adhesive · Painter's tape · Vacuum
Pro tip — Overlap is only as flat as the tread beneath it. Ten minutes of sanding saves an hour of shimming.
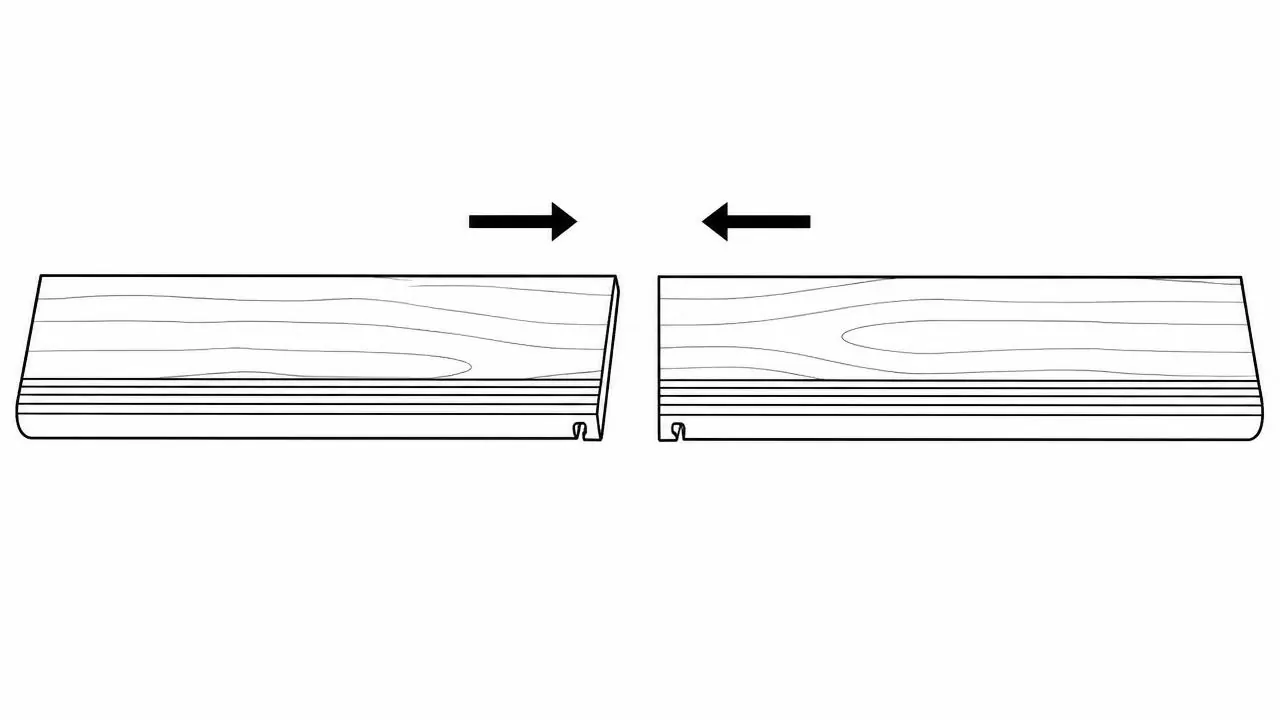
Guide 04
For stairs wider than a single stick. A tight seam disappears.
You'll need
Miter saw with fine-tooth blade · Wood glue · Blue tape
Pro tip — Match grain direction across the seam — flipping a piece can make an invisible joint suddenly obvious.
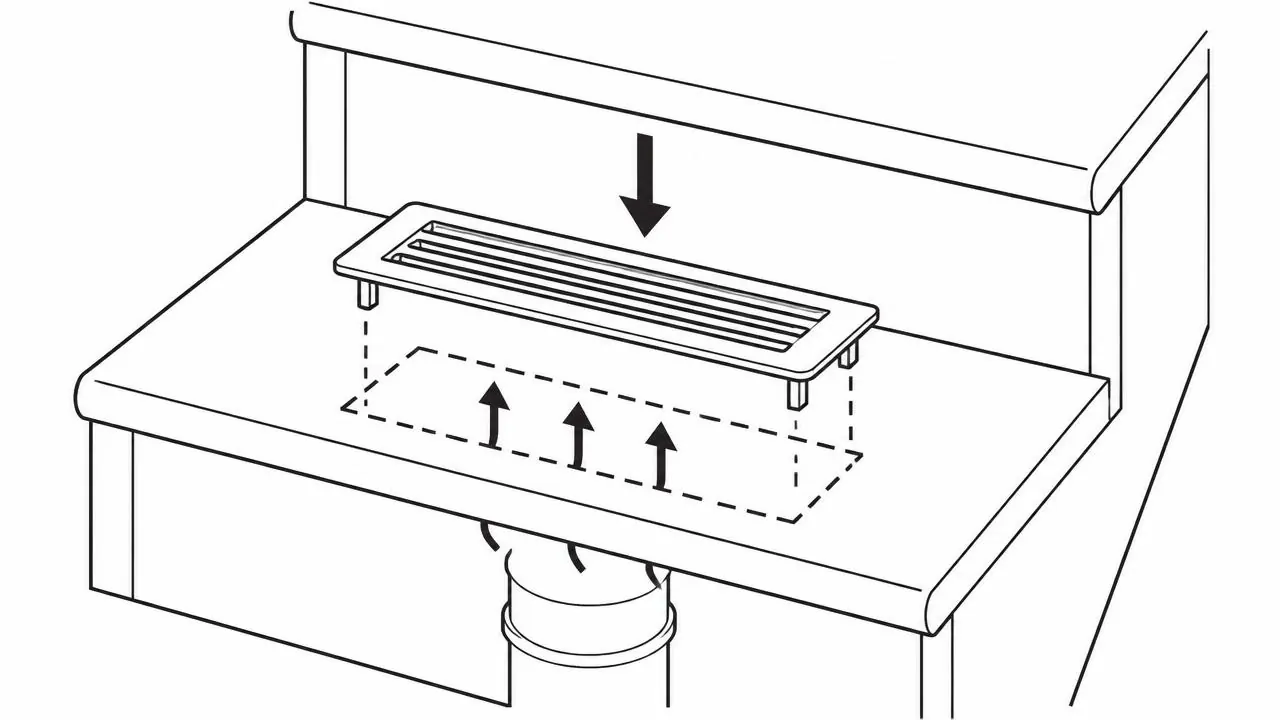
Guide 05
Keep register airflow on a stair tread without breaking the nosing line.
You'll need
Jigsaw or oscillating multi-tool · 1/2" drill bit · Painter's tape · Construction adhesive
Pro tip — Cut the tread opening to match the QVent frame, not the duct. You can adapt the duct below; you can't un-cut a tread.
Share your flooring label, stair photos and measurements.